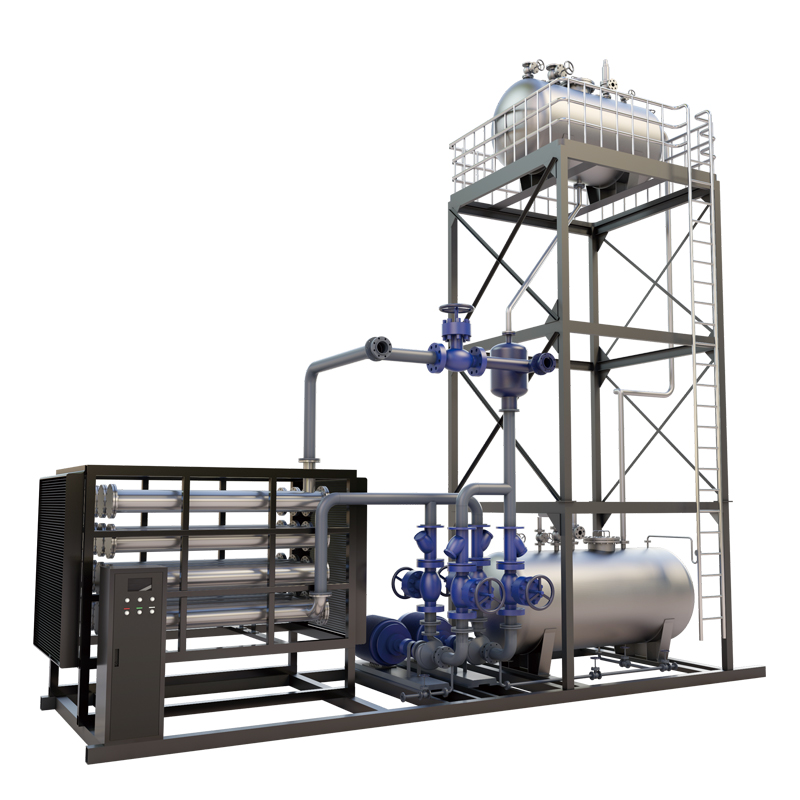
How to Build Your Own Steam Boiler for DIY Projects and Crafts
DIY Steam Boiler A Complete Guide
A steam boiler is an essential piece of equipment used in various industrial and domestic applications, from powering engines to providing heat for residential spaces. While commercial steam boilers can be costly, a DIY steam boiler can be a rewarding project for hobbyists and engineers alike. This article provides a comprehensive guide on how to build your own steam boiler, covering the materials, construction process, and safety precautions.
Understanding the Basics
Before diving into the construction phase, it’s important to understand how a steam boiler works. A steam boiler generates steam by heating water using fuel or electricity. The steam produced is then used to power machines, heat spaces, or drive turbines. The key components of a steam boiler include the boiler shell, water chamber, heating element, and steam outlet.
Materials Needed
To construct your DIY steam boiler, you will need the following materials
1. Boiler Shell You can use a large metal container, such as an old propane tank or a stainless steel drum. Ensure it is thick enough to withstand high pressure. 2. Water Chamber A smaller metal cylinder can serve as the water chamber where the water is stored and heated. 3. Heating Element Depending on your setup, you can use an electric heating element or a burner that operates on propane or natural gas. 4. Pipes and Fittings You will need various pipes and fittings to connect the components of the boiler. Copper or steel pipes are commonly used due to their durability and heat resistance. 5. Pressure Gauge A pressure gauge is essential for monitoring the steam pressure within the boiler to ensure safe operation. 6. Safety Valve This is a critical safety feature that will release steam if the pressure exceeds the safe limit.
Construction Process
1. Prepare the Shell Start by cleaning your boiler shell thoroughly to remove any debris or contaminants. If you are using a propane tank, ensure that it is completely empty and safe to cut.
diy steam boiler

2. Create the Water Chamber Cut an opening in the boiler shell to fit the water chamber securely. It should be positioned at the bottom to allow efficient heating of the water.
3. Install the Heating Element Depending on your choice of heating method, install the heating element or burner adjacent to the water chamber. Make sure to secure it properly to prevent leakage.
4. Connect the Pipes Use appropriate fittings to connect the steam outlet pipe to the top of the water chamber, allowing steam to escape from the boiler. Attach the pressure gauge and safety valve to their designated spots.
5. Testing Phase Before operating your boiler, it’s crucial to conduct a thorough inspection for leaks or weak points in your construction. Fill the water chamber with water and gradually heat it while monitoring the pressure gauge.
Safety Precautions
Building and operating a steam boiler comes with inherent risks. Always prioritize safety
- Use quality materials to endure high pressures and temperatures. - Install safety valves to regulate pressure and prevent explosions. - Conduct regular inspections of your boiler for any signs of corrosion or damage. - Stay informed about local regulations and requirements regarding steam boilers.
Conclusion
Creating a DIY steam boiler can serve as an educational experience while also providing a practical tool for various applications. By following this guide, you can construct a functional and safe steam boiler tailored to your needs. Remember always to prioritize safety and compliance with relevant guidelines to ensure a successful project. Happy building!
-
Top Electric Steam Boiler Manufacturers - High Efficiency SolutionsNewsJul.30,2025
-
Top Electric Steam Boiler Manufacturers – Efficient Industrial SolutionsNewsJul.29,2025
-
Top Electric Steam Boiler Manufacturers | Reliable Industrial SolutionsNewsJul.29,2025
-
OEM Steam Boiler Solutions for Custom Needs | High Efficiency & VersatilityNewsJul.29,2025
-
High-Efficiency Thermal Oil Boiler for Industrial Heating SolutionsNewsJul.29,2025
-
Top Electric Steam Boiler Manufacturers for Industrial EfficiencyNewsJul.28,2025

